First I downloaded Photon iso file (Photon OS 2.0 GA) from this link.
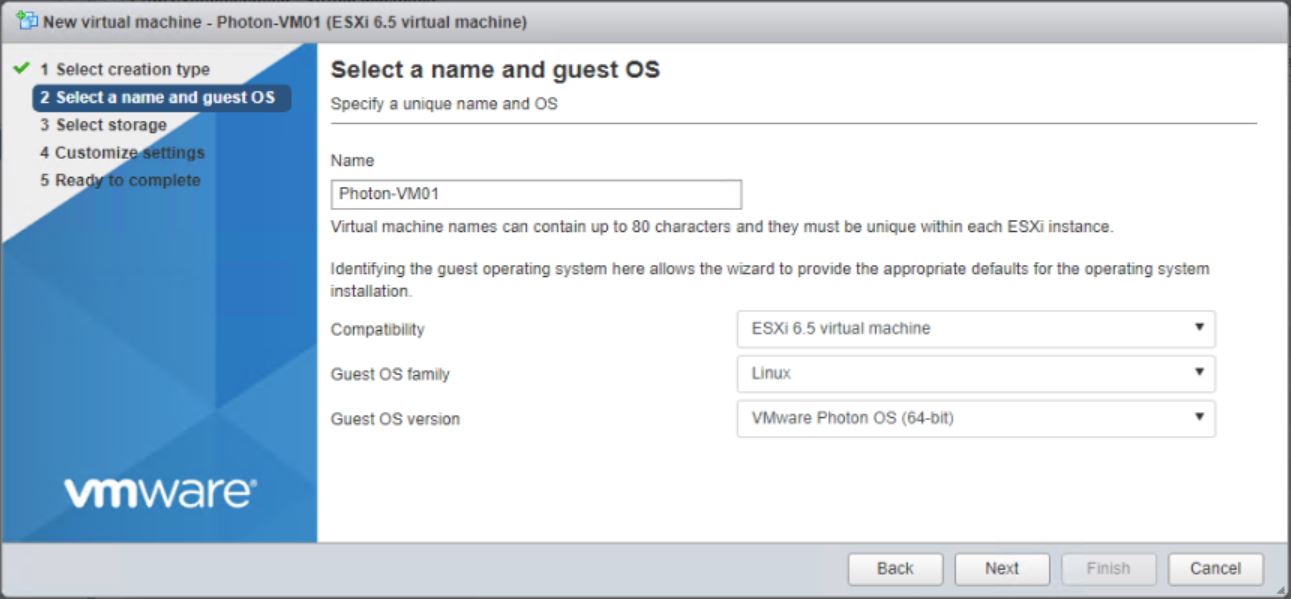
Then I created a VM instance in ESXi as I mentioned in the screenshot, and mounted the Photon ISO file to start the installation process.
Power-on the VM to start the installation process as below, then press enter key Install option.

Accept EULA.

Select the virtual disk, then click on Auto or choose Custom if you want to configure individual partitions, and press enter.


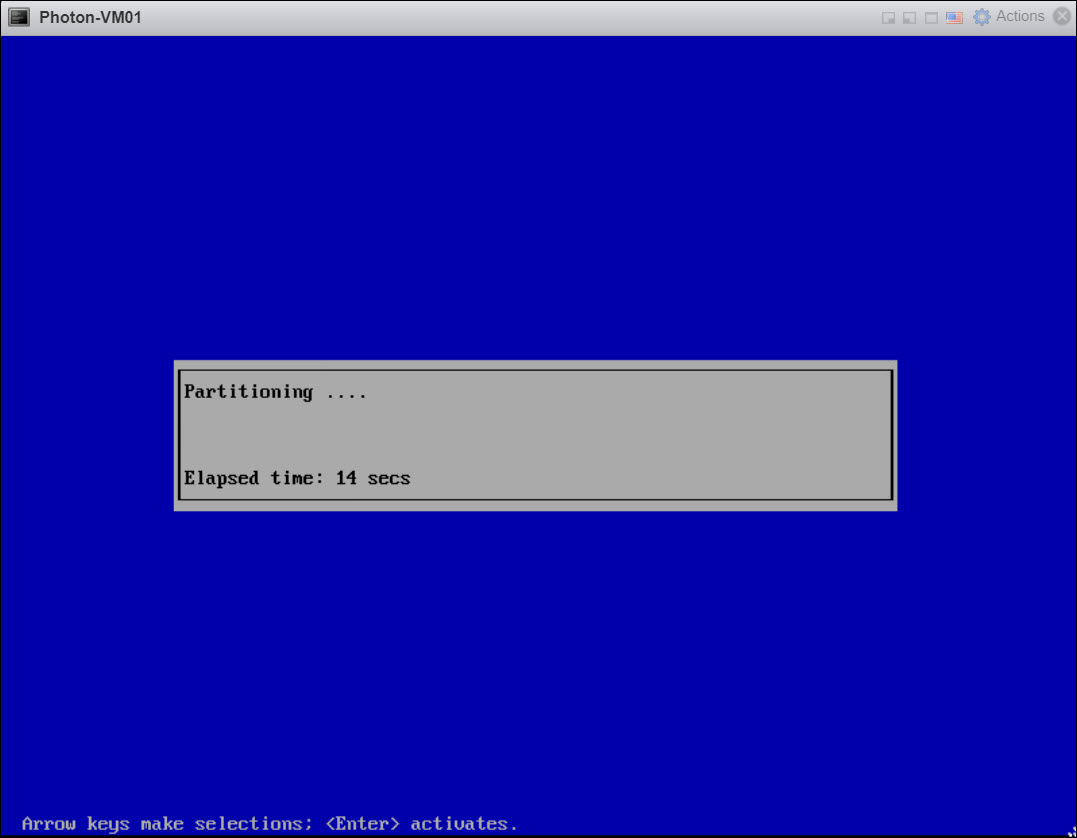
After partitioning the disk, the installer will prompt you to select an installation option, choose the type of Photon what you need, in my scenario I chose a full version, then click Next.
[table id=3 /]

In my scenario, I’m going to choose Hypervisor optimized
- Hypervisor optimized means that any components that are not needed for running under a VMware hypervisor have been removed for faster boot times.
- Generic means that all components are included.

Insert hostname as shown below, and press the Enter key.

Specify the root password, and press the Enter key.

Waiting until complete the installation then reboot VM.


At the login prompt, type root as the username and provide the password chosen during the installation.

We have now successfully setup Photon OS and are ready to use our container runtime environment.

Thanks for Reading!
